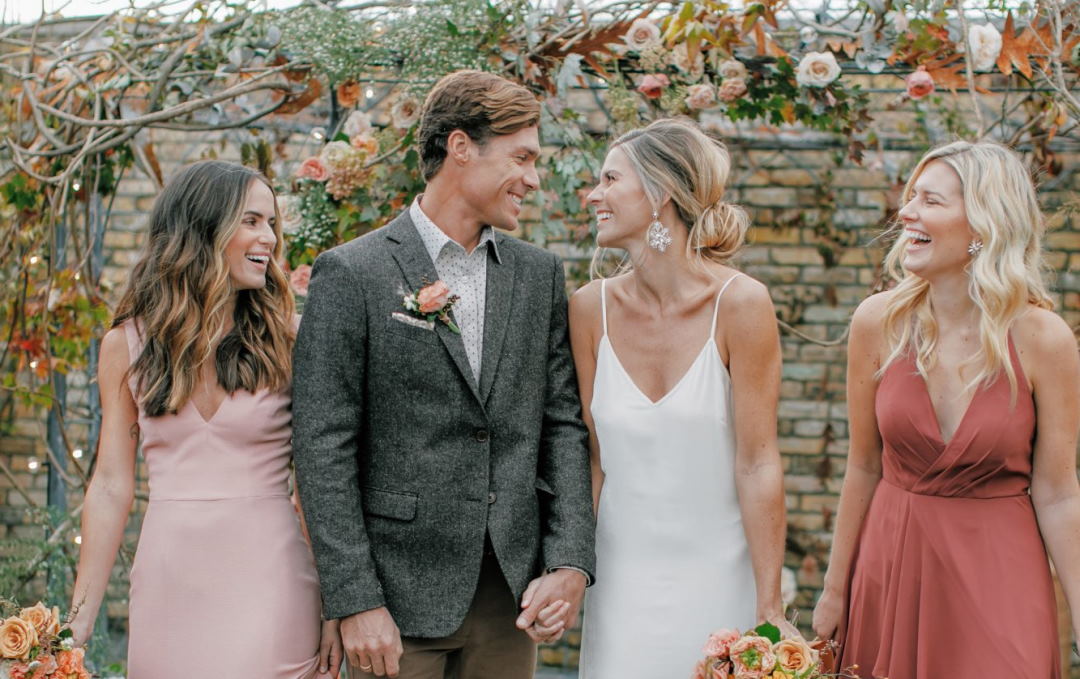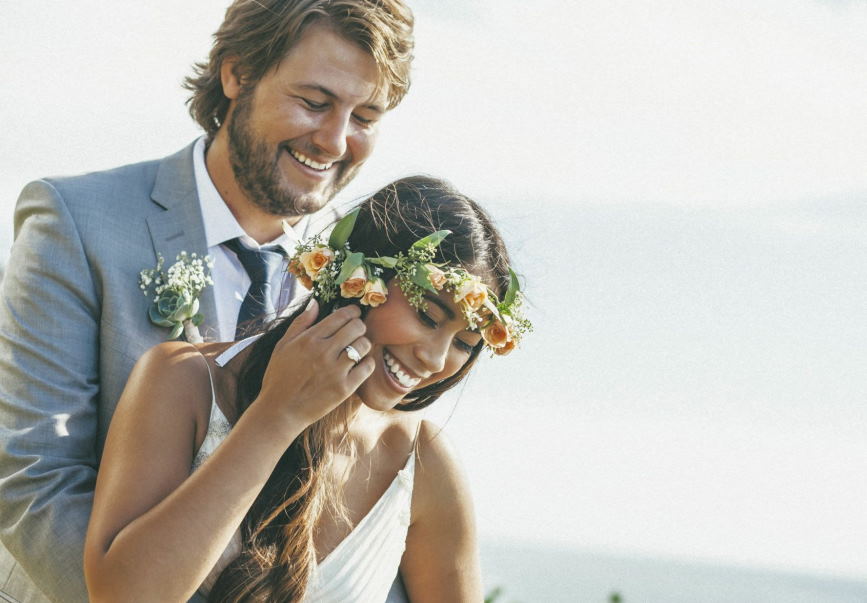
A bridal cascade haircut for long hair can be a beautiful way to style your hair for your wedding day. This type of haircut involves cutting your hair shorter in the back and leaving it longer in the front, cascading down over your shoulders. There are several ways to get this type of haircut, and it is important to choose a style that will look good with your dress and overall look. Here are some tips on how to get a bridal cascade haircut for long hair.
A guide to creating a cascading waves hairstyle
Cascading waves hairstyle is trendy these days. There are many tutorials on creating this style, but not all of them are created equal. This guide will show you the best way to achieve cascading waves that look natural and stylish. So, whether you’re attending a special event or want to update your everyday look, keep reading for tips on how to create cascading waves of hair!
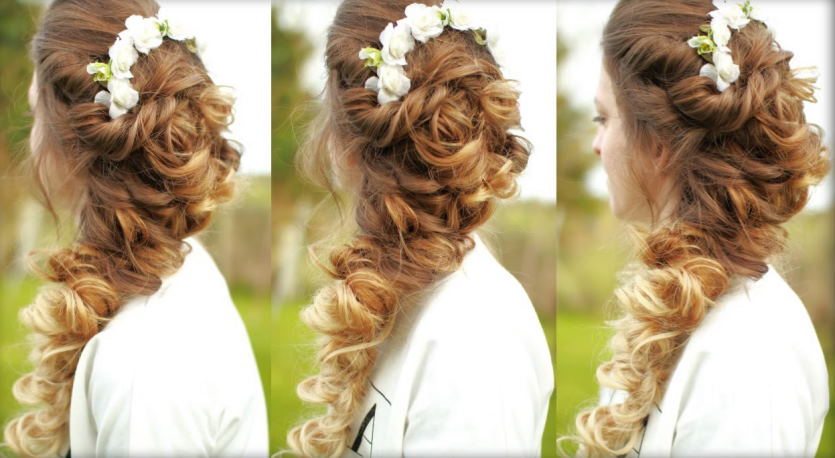
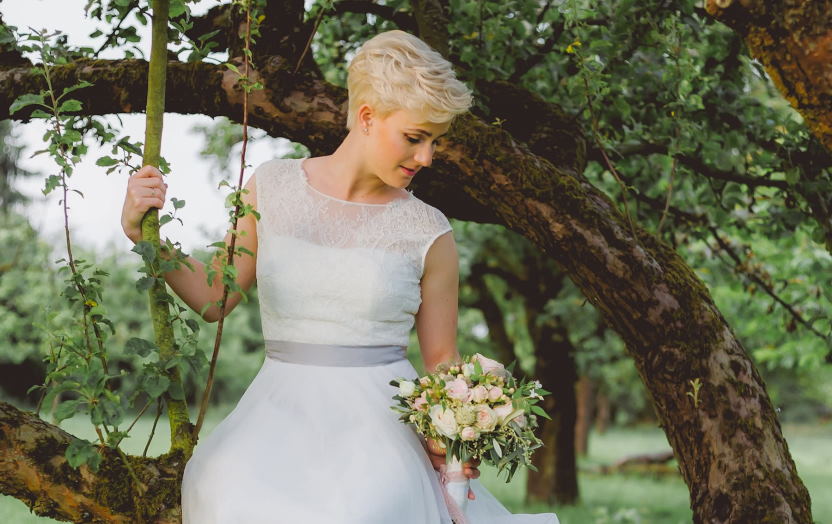
A bridal cascade is a hairstyle that is perfect for long hair. It is similar to a waterfall braid, but it flows down your back in one fluid motion. Here are the steps to getting this haircut:
- Start by parting your hair in the middle and clip away the top section. This will be used later to create the braid.
- Take the bottom section of your hair and divide it into three equal parts.
- Braid each part of the hair, making sure to keep the strands tight.
- Once you have finished braiding, join all braids together at the end and secure with a clear elastic band.
You need to keep in mind a few things when getting a bridal cascade haircut for long hair. First, make sure your stylist understands the look you’re going for. Bring pictures of what you like so they can get an idea of the style and shape that will work best on your hair type.
Also, be prepared to spend some time in the salon chair. This is not a quick or easy cut! But it’s well worth it if you want a dramatic new look for your wedding day.
Finally, be patient while your hair grows out. It may take several months before the full effect of the cascade haircut is visible. But trust me, it’s worth the wait!
Easy steps to getting gorgeous cascading curls
As the weather starts to change and the days get a little bit longer, more and more women are reaching for their curling irons in hopes of achieving gorgeous cascading curls. Curls can add so much dimension and beauty to any look, but achieving them can sometimes be tricky. So, if you’re looking for an easy guide to getting curly hair that looks professionally done, keep reading! These simple steps will have you looking like a curl expert in no time.
To get started, you will need to gather some supplies. Curling irons come in various sizes and shapes, so it is important to find the right one for your hair type. If you have thin or fine hair, choose a smaller iron with less heat output. Heavier, thicker hair can handle a larger barrel with more heat.
Before you start curling, make sure your locks are completely dry. Wet hair is more prone to breakage. Once you have gathered your supplies, section your hair into manageable subsections. Start at the nape of your neck and work up towards the top of your head. This will help ensure that each curl is consistent in size.
Apply a heat protectant to each section of hair before you curl. This will help to prevent damage and keep your locks looking healthy. When ready to start curling, take a small subsection of hair and clamp the iron shut. Hold it in place for a few seconds, then release. Be sure to keep the curls consistent in size by ensuring all subsections are equal in thickness.
Recommended To You